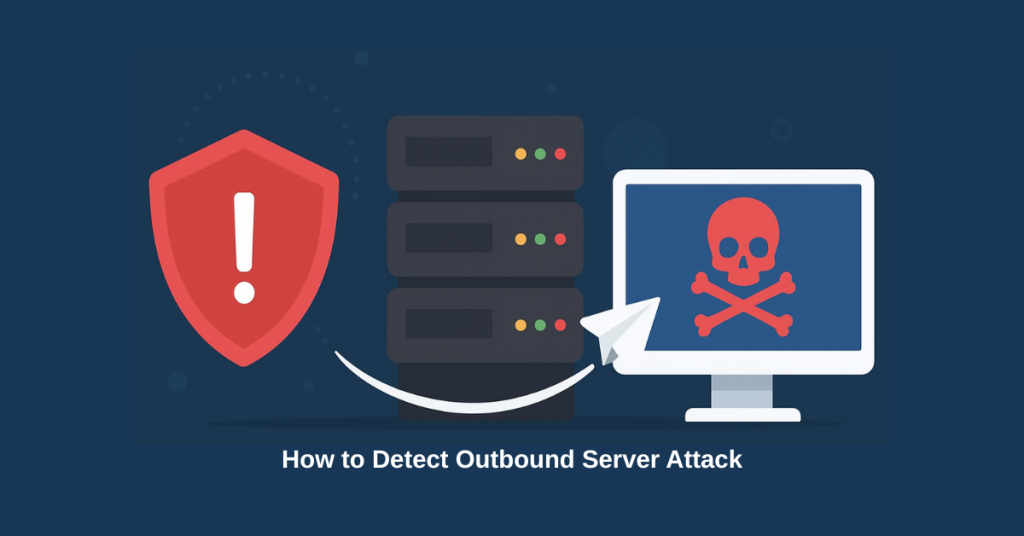
This article describes how to detect outbound server attack and tackle abuse complaints on your web hosting environments.
It’s not a secret and if you yourself are a linux systems administrator or a website developer or someone who is dealing with production environments, you are already well-aware of the three demons we have to face almost every day on the servers we are managing which are “Spamming”, “Phishing” and “Abuse Complaints”. ( I know there are more of these kinds but let’s just talk about these three ).
While we have great tools to deal with spamming and now-a-days, even various malware scanners are proficient enough to detect phishing websites but reading the website code proactively and comparing them with their signature database, we still lack proper measures to deal with the third demon i.e. “Abuse Complaints”. We usually get the “Abuse Complaint” after the outbound server attack has already occurred and all we can answer the abuse team is that we’ve initiated a malware scan on the server to detect any possible infected/compromised accounts and the fact that such kind of attacks cannot be dealt with in realtime as the attack has already occurred in the past.
It’s a really frustrating situation mainly for system administrators as they are forced to find the unknown and they have absolutely zero leads on who performed the outbound server attack from their server, at what time, to which remote hosts and the list of questions goes on…..
As you now understand what we are talking about, let’s get into more details regarding “Abuse Complaints” and the most common of their types. Mostly, abuse complaints against production servers or web hosting servers you may say are received when there are some malicious users or scripts hosted on your server which are either attacking remote login portals like CMS admin panel or some other web forms or banking web applications.
The next two rare types of abuse complaints are received for outbound FTP and SSH based attacks. In these kind of complaints, mostly the remote FTP/SSH servers are attacked by some malicious scripts or user accounts hosted on your server.
Today in this article, we’ll be dealing with all these three types of abuse complaints and their working mitigation methods using the server firewall. If you think that firewalls are only used to block and allow traffic, then there is something really interesting coming in for you 🙂
So, let’s outsmart the smart guys out there!
First, let’s deal with the server requirements:
1) Considering that the server is running cPanel , We will need CSF (Config Server Firewall ) installed and running.
2) Iptables – installed and running which comes by default.
3) Access to the root user of the server. (All the commands in this article are to executed as the root user)
4) Intermediate Linux system administration skills.
Once you’re sure that you have all the above requirements satisfied, you may proceed with the below steps. I’ll be providing with the details of all the commands that we are running on the server so you need not worry of anything going wrong. Just make sure that you follow my instructions correctly. 🙂 However if you are not having the required skills i will recommend do not try to run any commands mentioned below. If you still want to do, try it at your own risk !
1] Creating the “csfpost.sh” file:
Firstly, we’ll create the “csfpost.sh” file which is a hidden feature provided by Config Server Firewall (csf) which basically executes all the commands specified in the “/etc/csf/csfpost.sh” file after the firewall finishes loading its rules.
If your server already has a “/etc/csf/csfpost.sh” file just append (add) the below lines after the last line of the in the file. If not, just create create the file:
]> The below command will create the “/etc/csf/csfpost.sh” file:
# touch /etc/csf/csfpost.sh
]> Add the below codes in “/etc/csf/csfpost.sh” file:
——————————————————————————————————————————————————————————————
#!/bin/bash
/usr/sbin/iptables -I OUTPUT ! -d <Server_Main_IP_Address>/32 -p tcp -m tcp –dport 22 -m limit –limit 500/hour -j LOG –log-prefix “CSF-OUTBOUND:22:=:” –log-uid
/usr/sbin/iptables -I OUTPUT ! -d <Server_Main_IP_Address>/32 -p tcp -m tcp –dport 21 -m limit –limit 500/hour -j LOG –log-prefix “CSF-OUTBOUND:21:=:” –log-uid
/usr/sbin/iptables -I OUTPUT ! -d <Server_Main_IP_Address>/32 -p tcp -m tcp -m multiport –dports 80,443 -m limit –limit 1000/hour -j LOG –log-prefix “CSF-OUTBOUND:80:443:=:” –log-uid
——————————————————————————————————————————————————————————————
Here, “<Server_Main_IP_Address>” would be the main/primary IP address of your server which you can find using the command “hostname -i” or if you are using NAT network, you’ll need to fetch it from your DC. Basically, “<Server_Main_IP_Address>” is the public IP address of your server.
##———————————————————————————————————————————————————————————–##
For example, if the public IP address of your server is “11.22.33.44”, the data in your “/etc/csf/csfpost.sh” file must look like below:
#!/bin/bash
/usr/sbin/iptables -I OUTPUT ! -d 11.22.33.44/32 -p tcp -m tcp –dport 22 -m limit –limit 500/hour -j LOG –log-prefix “CSF-OUTBOUND:22:=:” –log-uid
/usr/sbin/iptables -I OUTPUT ! -d 11.22.33.44/32 -p tcp -m tcp –dport 21 -m limit –limit 500/hour -j LOG –log-prefix “CSF-OUTBOUND:21:=:” –log-uid
/usr/sbin/iptables -I OUTPUT ! -d 11.22.33.44/32 -p tcp -m tcp -m multiport –dports 80,443 -m limit –limit 1000/hour -j LOG –log-prefix “CSF-OUTBOUND:80:443:=:” –log-uid
##———————————————————————————————————————————————————————————–##
The above file data contains a set of iptables commands which will add a rule to your existing firewall ruleset to detect and log outbound traffic destined to the ports 80 (HTTP), 443(HTTPS), 21(FTP) and 22(SSH) along with the UID of the actual user account who made the connection excluding the outbound connections made to your own server.
These rules won’t be conflicting with any of your existing firewall rules and adding them won’t cause any kind of connectivity issues on your server as these rules will only log the traffic and won’t be performing any kind of blocking or allowing operations.
Once you’ve added data to your csfpost.sh file, you need to make it executable using the below command:
# chmod 700 /etc/csf/csfpost.sh
If you are wonder why “700”, we choose these permission bits because we don’t want any other standard user or group to be able to find out exactly what kind of rules are getting loaded by the csfpost.sh file. Just a small security measure.
Now, you need to restart your csf firewall and you must see “csfpost.sh” file mentioned in the firewall restart output in the last 10 or 15 lines. Restart the csf firewall using the below command:
# csf -r
Once this is done, if there are any outbound requests being made from your server, you can find them in the “/var/log/messages” file of your server where below are the strings that you are required to look for the particular type of outbound requests:
——————————————————————————————————————-
String: Description:
CSF-OUTBOUND:80:443:=: – Searching for this string in /var/log/messages will give the list of all outbound requests made to remote web servers on port 80 and 443 along with the exact time at which it was done, the exact UID of the user who did it and the IP address of the remote server.
CSF-OUTBOUND:21:=: – Searching for this string in /var/log/messages will give the list of all outbound requests made to remote ftp server on port 21 along with the exact time at which it was done, the exact UID of the user who did it and the IP address of the remote server.
CSF-OUTBOUND:22:=: – Searching for this string in /var/log/messages will give the list of all outbound requests made to remote ssh server on port 22 along with the exact time at which it was done, the exact UID of the user who did it and the IP address of the remote server
——————————————————————————————————————-
These logs themselves are awesome and will be really helpful when you get abuse complaints. All you need to do is look at the abuse complaint report, findout the IP address of the remote server which was attacked from their report and simply search for that IP address in the server’s /var/log/messages file. That’s it! you got the exact logs of the attack with the UID of the user which you can use to findout the name of the user from the “/etc/passwd” file and take the necessary actions on it.
You can even use these logs to provide the user with the evidence of the actions performed by him or his account on the server which has resulted into an abuse complaint against your server.
Now, I know what you are thinking about. We are still catching the bad guys after they’ve done their thing! Yes, we are, but not the server, the server is still logging the activity in realtime and you can monitor these logs in realtime using SIEM softwares/solutions like Splunk or any other software of your choice and get realtime updates of the outbound attacks being performed from your server.
To make the investigation process of our busy admins faster, I’ve created a simple script which will perform all the basic investigation for you and provide you > process the data and provide you with a nice little output window displaying the results of daily summary of outbound attacks being performed on your server.
We have developed a script which is written in bash and can run on any linux system without any issues, You can order our Linux server security plan and our team will install the customized script for you.